
Active Vs Passive Aiming with Night Vision
Posted by Spiritus Staff on May 9th 2025
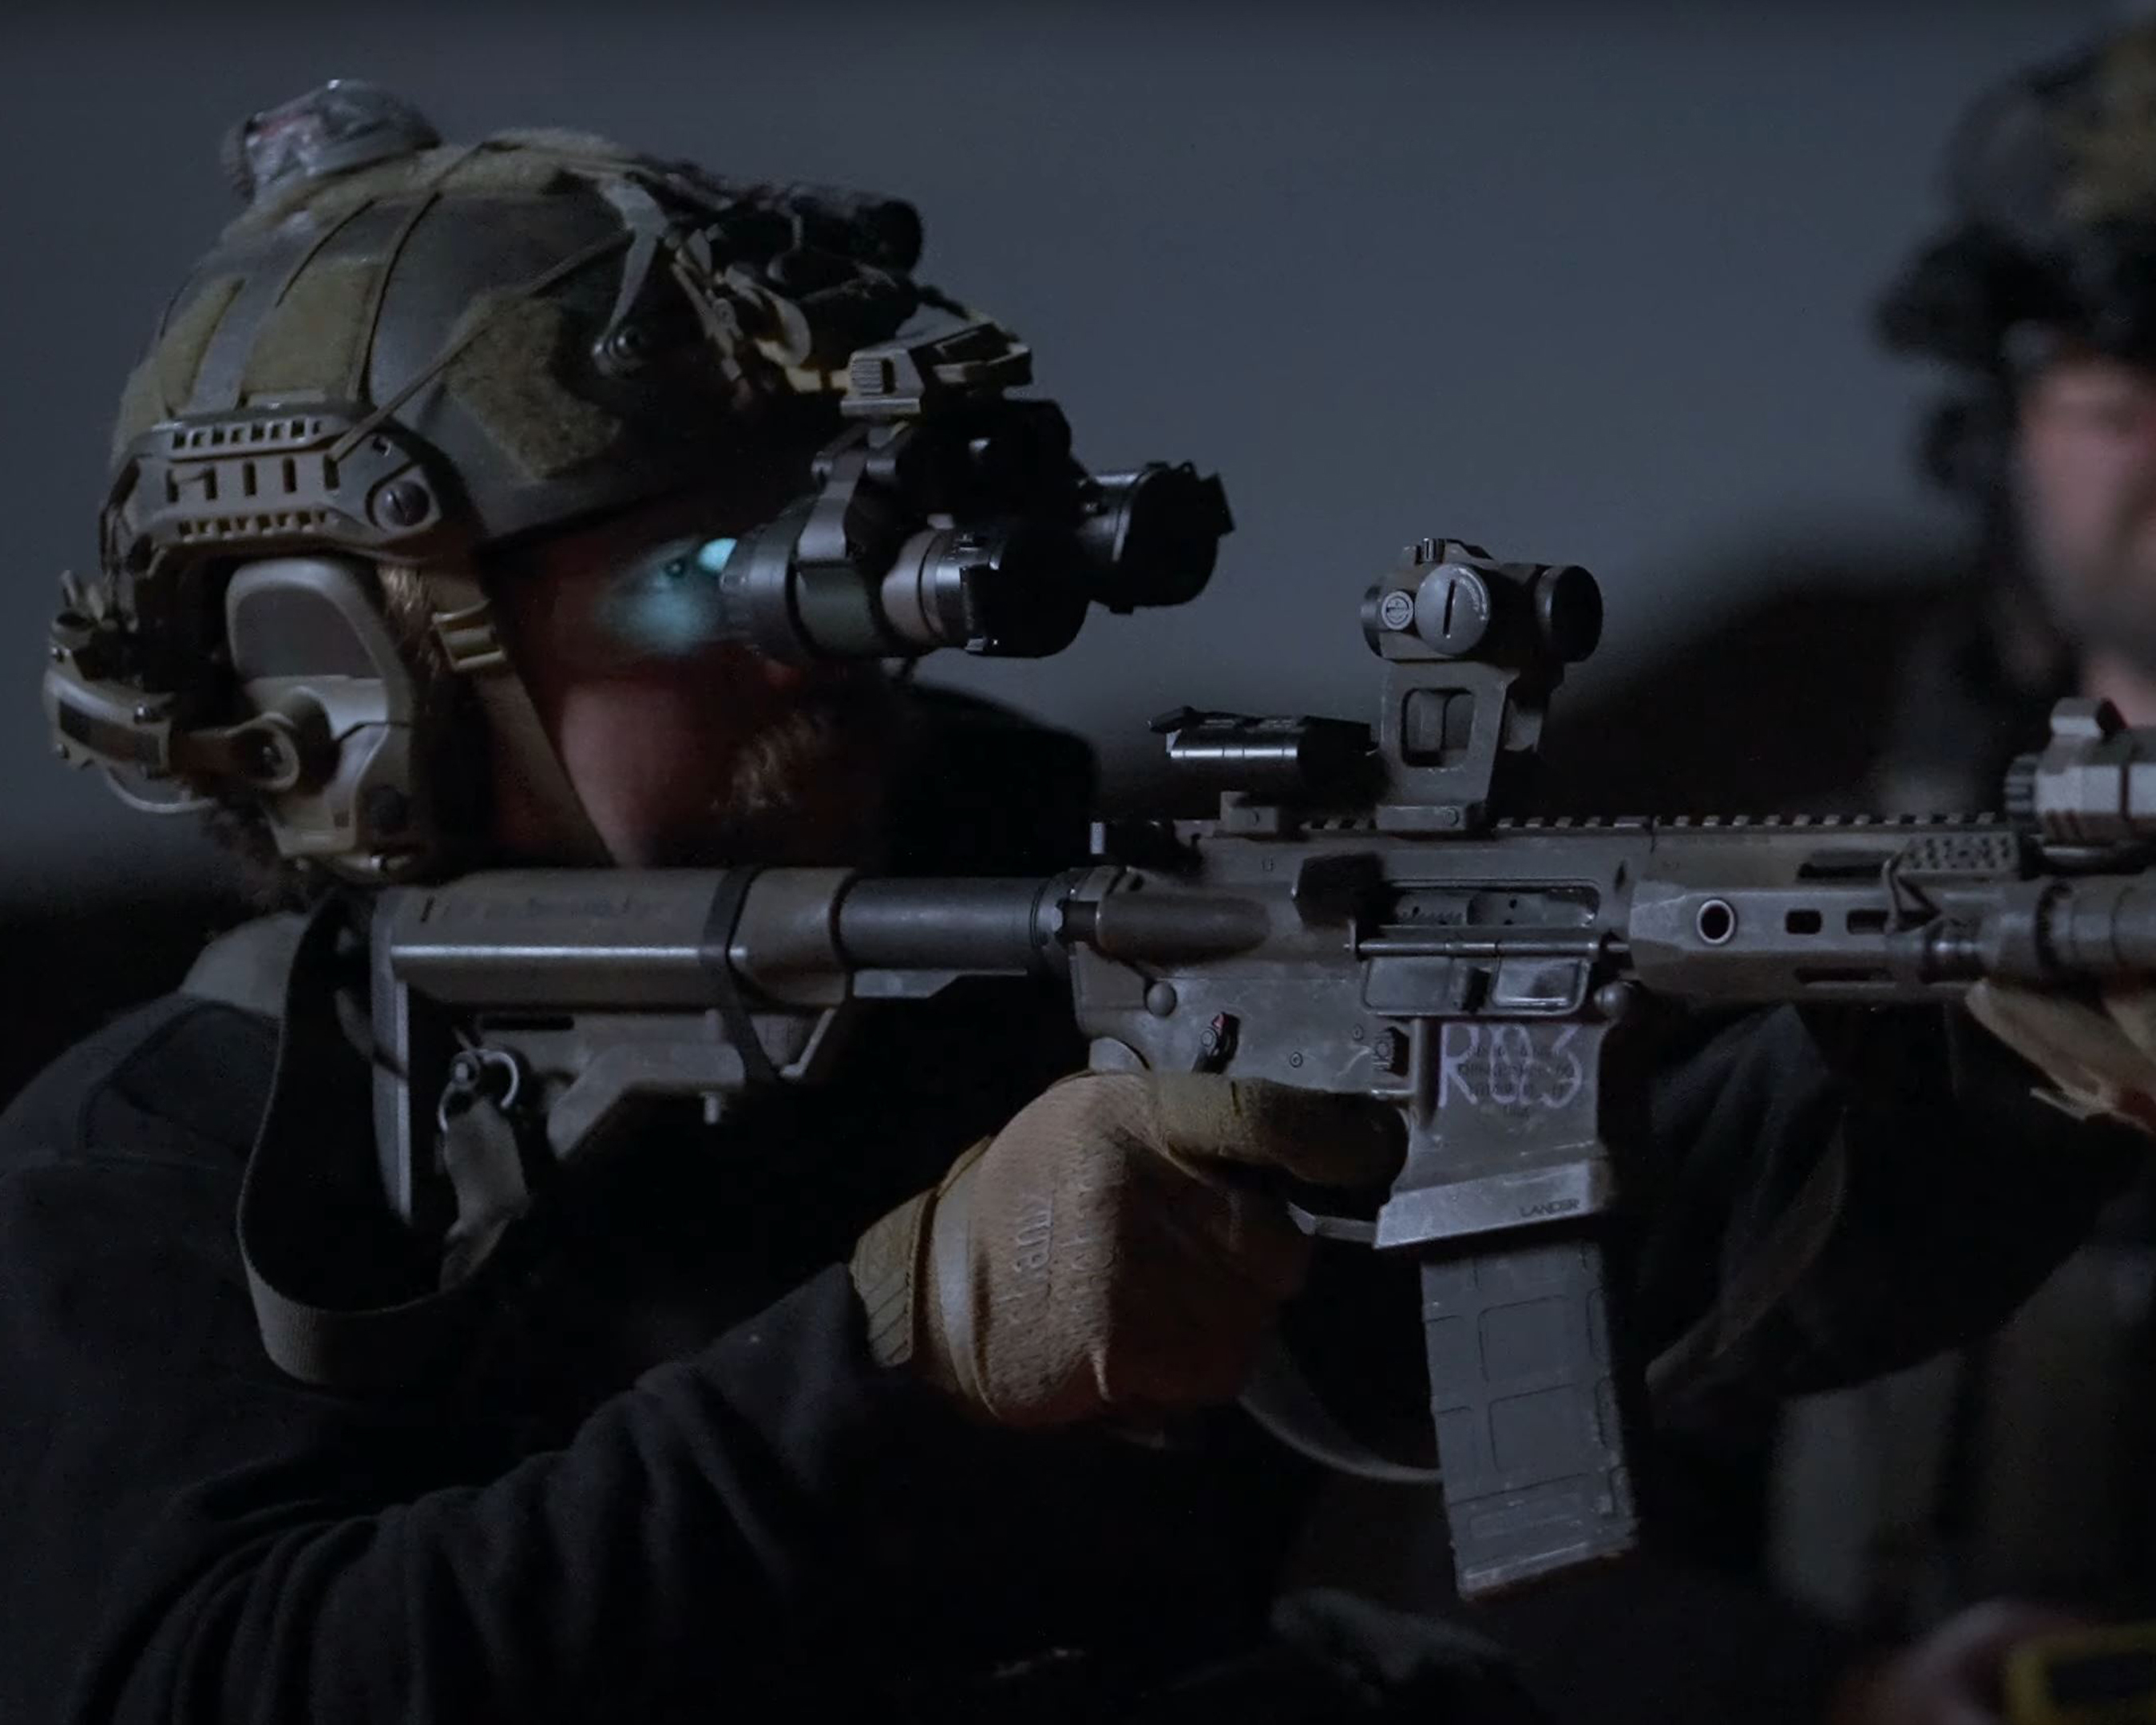
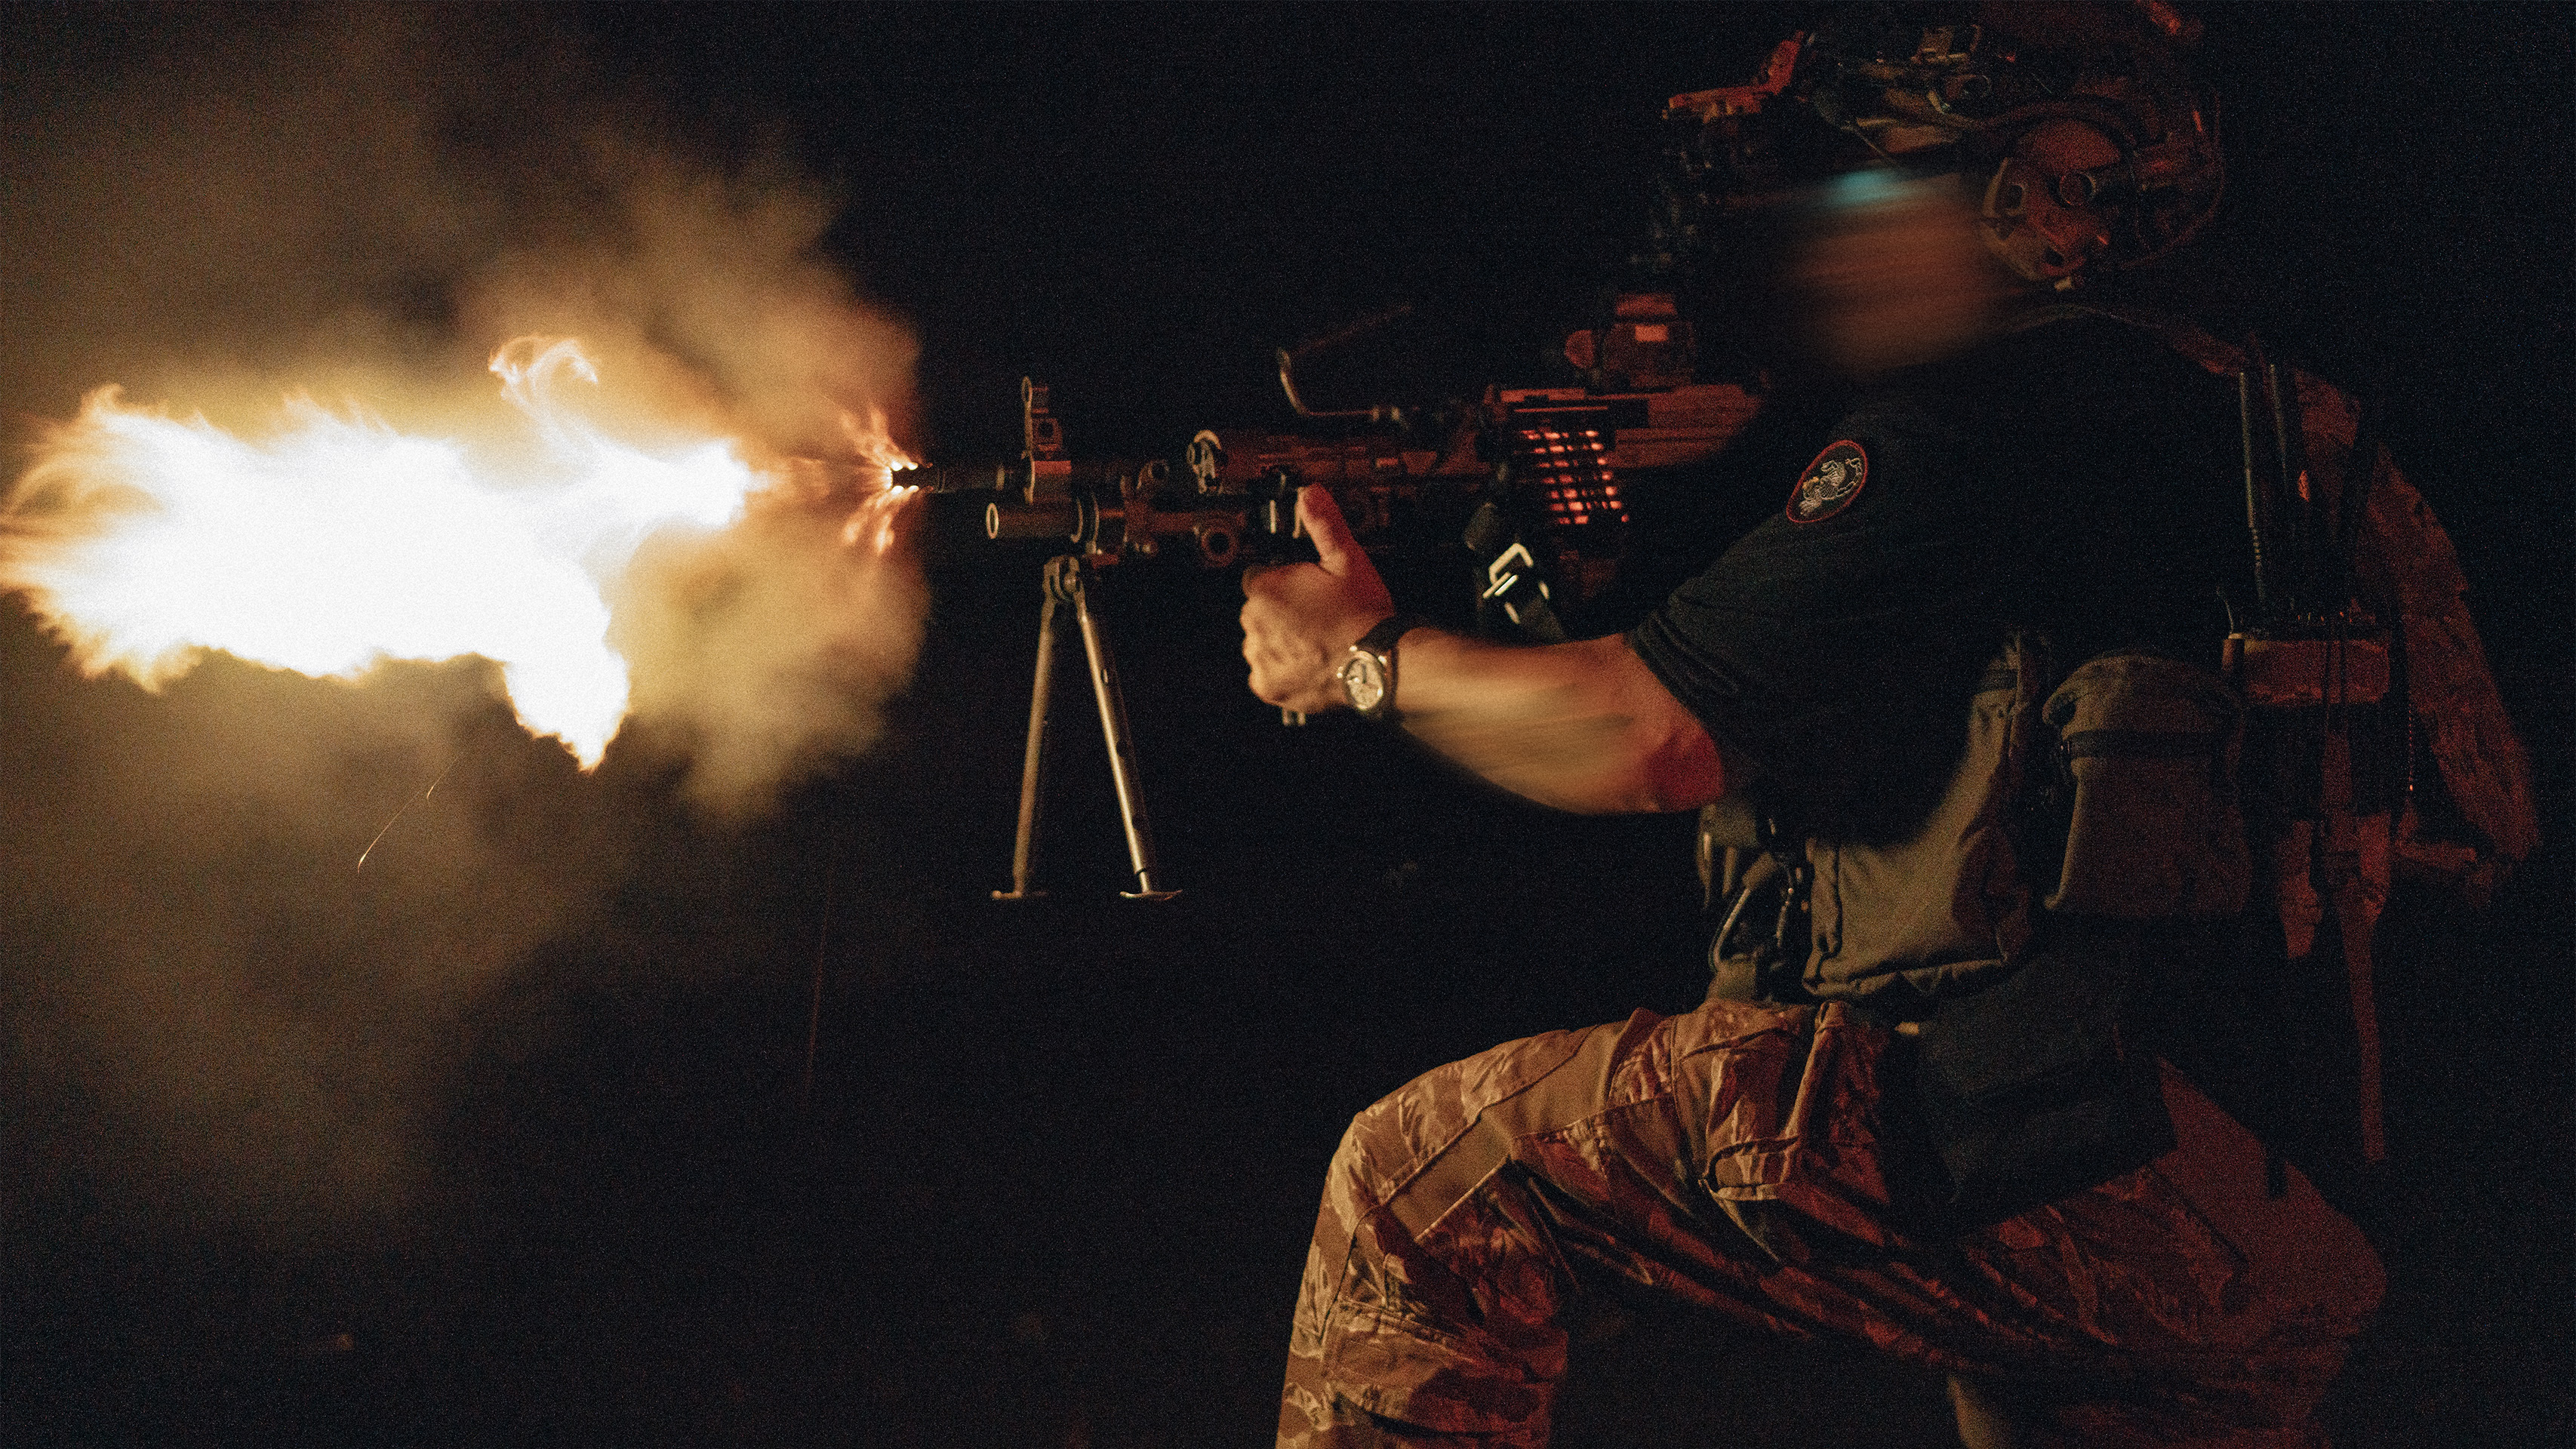
Over the past year, we’ve had the opportunity to collectively do a fair amount of night shooting, and in the wake of that, we thought it would be a great opportunity to look at a highly debated subject: Active versus Passive aiming. For the purposes of this conversation, we're going to define active aiming as using some kind of device, whether that's a laser in the IR spectrum, near IR, an IR light, or a flashlight in the visible spectrum, projecting past the shooter and onto a target. Or to put it another way, actively putting energy out in front of the weapon system to then align with and engage the target. Passive aiming, on the other hand, is when we are not projecting any energy. Or at least no useful amount detectable by others in the environment. Some might argue that a red dot sight emits a little visible energy, but for the purposes of this conversation, we're not counting that as it’s such a minimal source.
There are pros and cons to both techniques. A common belief in the community is that everyone should just switch over to passive aiming. That’s a very reductionist point of view that is neither accurate nor correct. Passive aiming techniques work, and they’re effective. You should know how to use them. But you also have to know when to use them; context matters.
The biggest advantage of passive aiming is stealth. Bringing a weapon up and looking through the optic is a zero-emission action. The user is still completely hidden from anyone observing. But if we turn on a laser and the enemy has the same capability, they can simply follow that laser back to its point of origin and see exactly where we are. One disadvantage of passive aiming is the difficulty of using it in awkward or unconventional shooting positions. If you're shooting from the prone, through a barricade, or something very low, and you can't align your tubes with the optic, you can't make the shot. Another critical downside is that passive aiming doesn’t allow you to add light to dark areas. You can't achieve positive identification (PID) just by looking through your optic and night vision if the target is in a shadowy place. If PID is required, you must illuminate the target, whether that’s with IR or visible light. So, saying we can rely solely on passive is just too hardline. We still need both techniques.
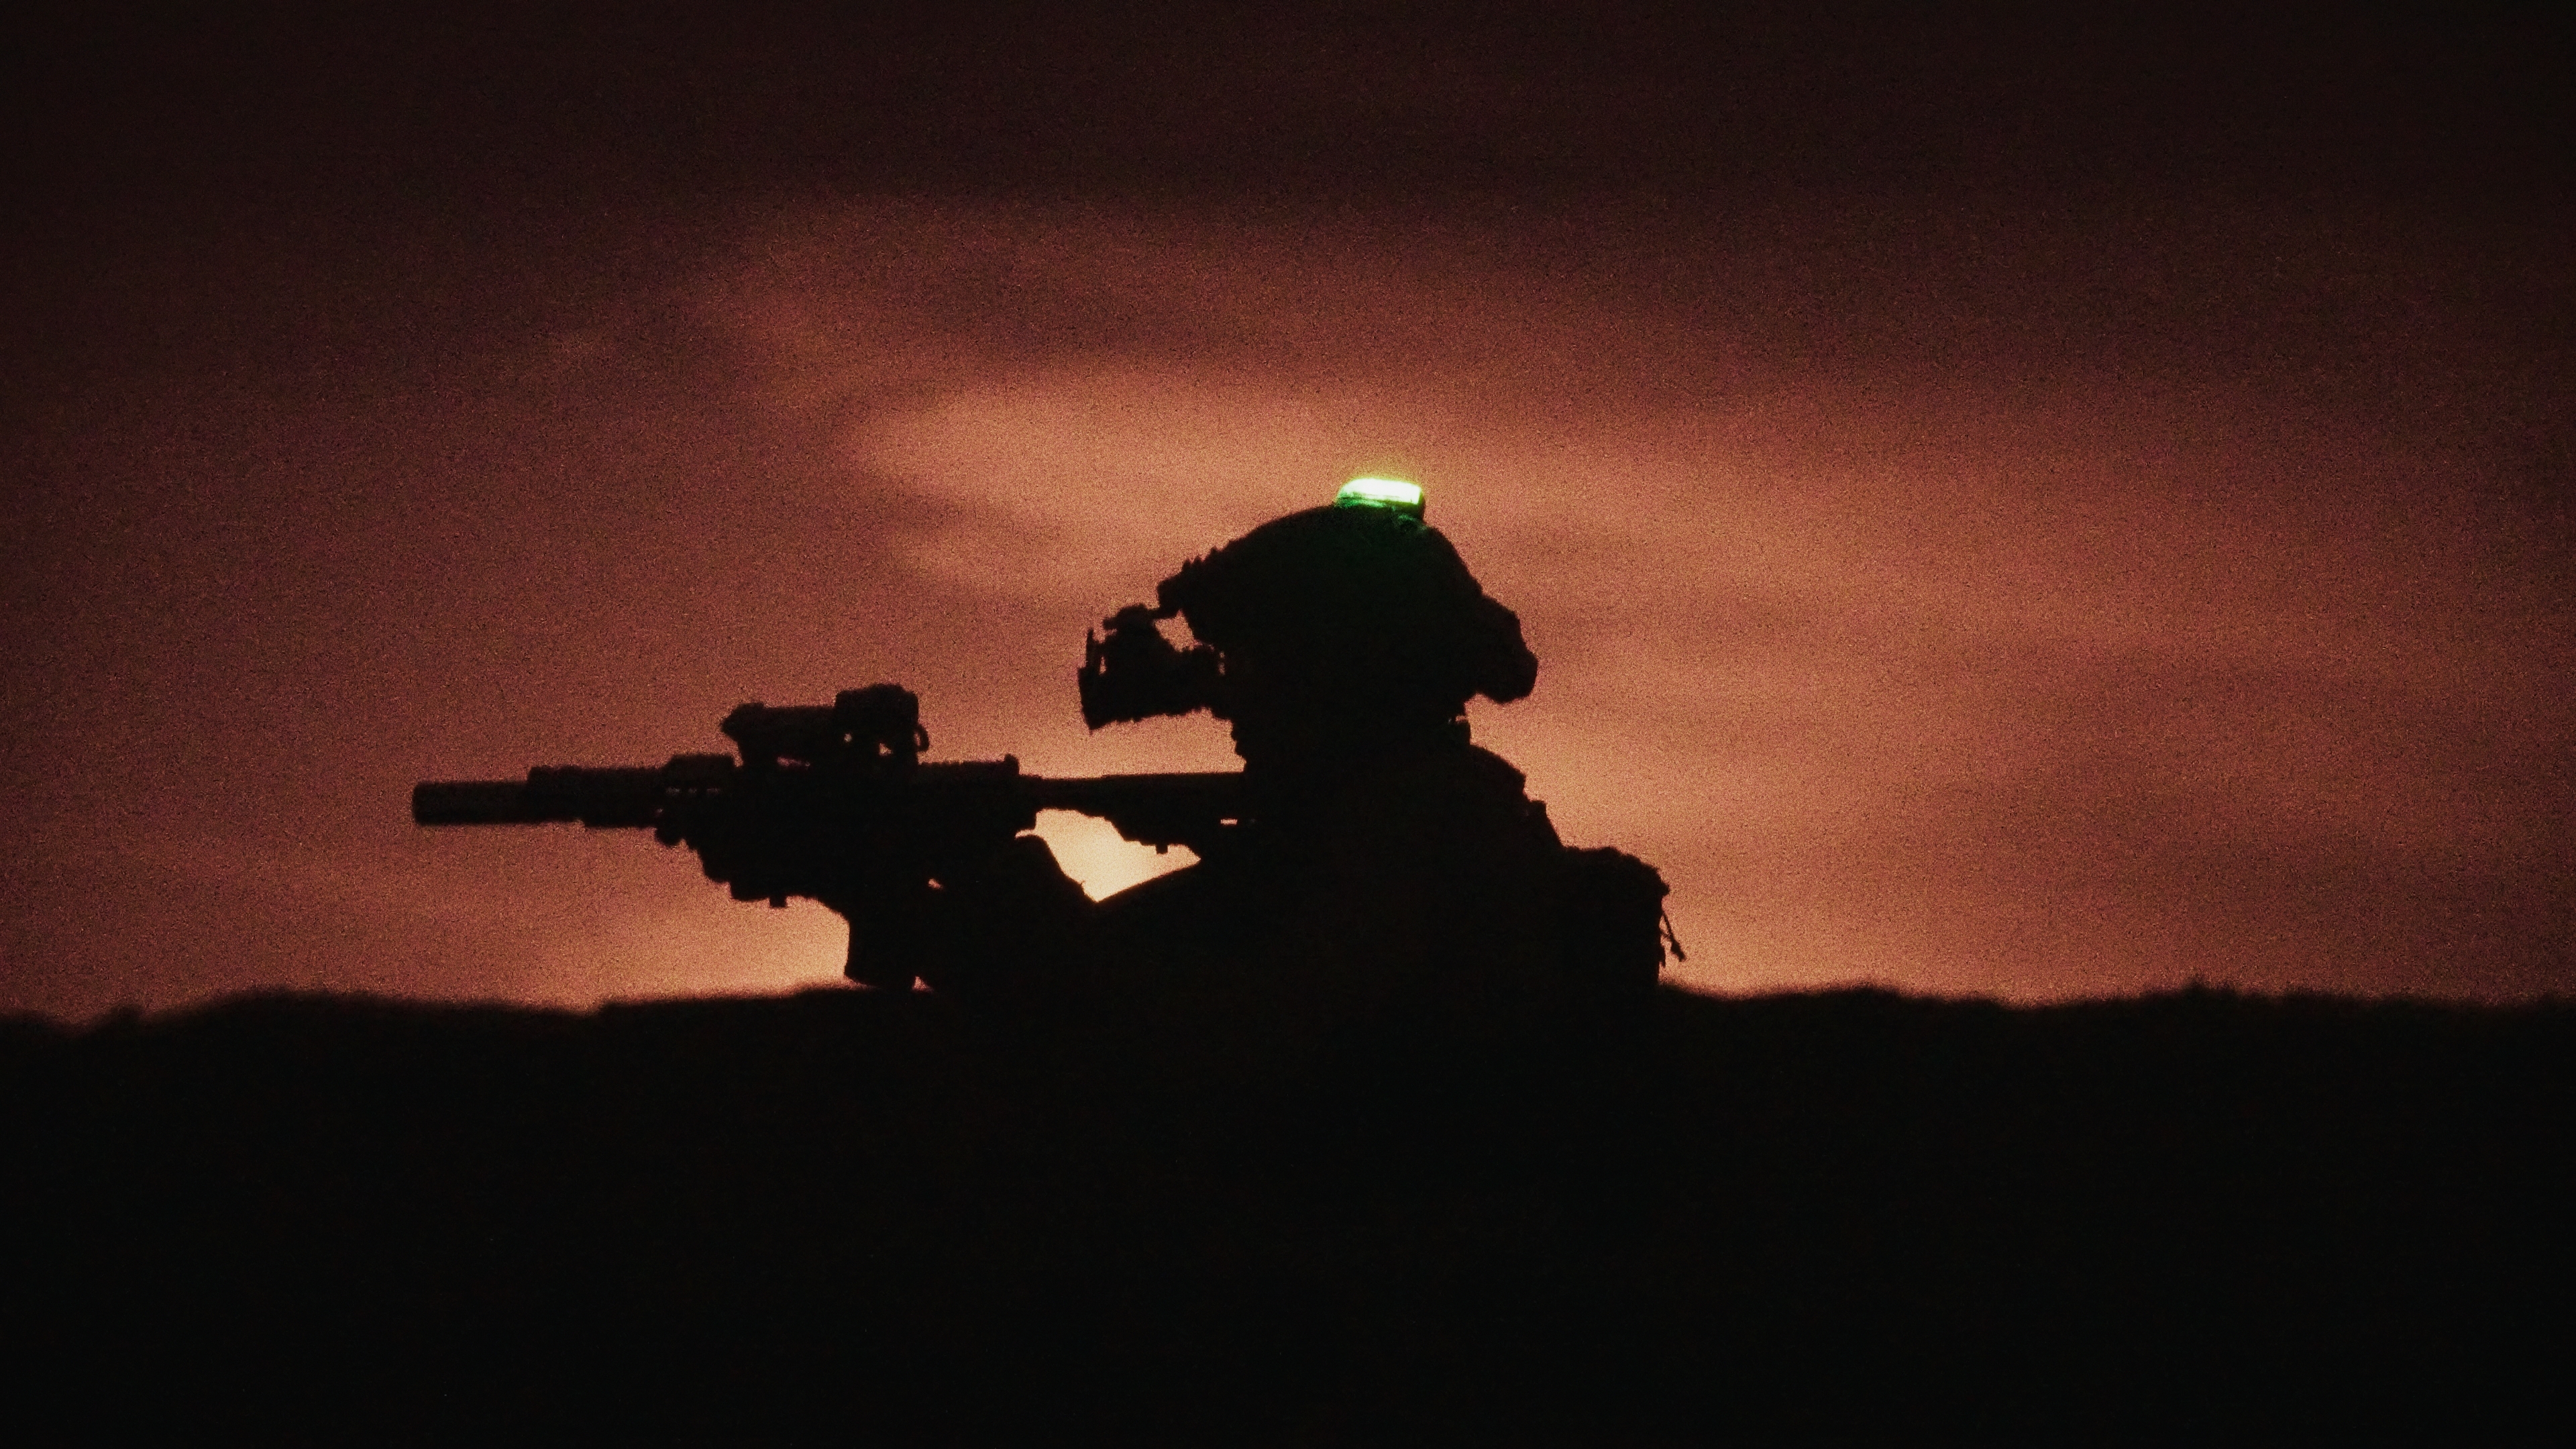
To give an operational example, say you're infilling somewhere and moving on foot. The SOP would probably be no active aiming unless there's contact or you need PID. You use passive up to the objective. Once you’re on the objective, everyone knows it's time to transition to active aiming. That’s one way to blend both methods into an SOP, where everyone understands what the right technique is for the right moment. Another important consideration is command and control. It's very difficult when everyone is running around in the dark without lasers or illuminators. These tools help teammates identify where someone is aiming, where the front or rear of an element is, etc.
There is one elephant in the room we want to address: the iron sights argument. If you rely solely on iron sights, you're essentially taking yourself out of the fight for half the day, any time it’s dark. Iron sights should be there as backups, not your primary system. Leave that mindset in the 1950s where it belongs. Some will retort that historically, many have been forced to make it work, but ask yourself, did they actually know what they were shooting at? Were they engaging it accurately? At the individual level, iron sights are an extreme hindrance when compared to other options available to the modern shooter.
Internally, we wanted to compare the two aiming methods head-to-head. So, we picked out three shooting drills that cover multiple skills to act as an evaluation of both aiming methods. The first one is the Four Aces drill. It’s a common pistol drill, but it works great for rifles as well. Using a USPSA target, we shot for the A zone at about 7 yards, starting from the ready position, shooting two rounds, performing an emergency bolt-lock reload, then firing two more rounds. Afterwards, we discussed the results. Overall, we felt the two techniques were pretty similar. We noted that it was still faster and more comfortable with the laser since it visually paints the target, but for simple ready-up drills, the difference isn’t major. Our hypothesis was that more complex positional drills would show a bigger gap. Another Spiritus staff member noted that his passive times were a little faster, pointing out that reloads were the biggest time sink, not the aiming method. With active aiming, hand positioning becomes critical because you need to reach the laser button. With passive, your hand can be more flexible, as long as your sight picture is aligned. That’s why we incorporate reloads into the drill, to challenge real-world readiness.
Next was the Viking Tactics "VTAC 1–5" drill from Kyle Lamb. This drill is shot with three targets, spaced about a yard apart at 5 yards. Shoot one round on the first, two on the second, three on the third, then back to the center for four, and finally five on the last target. During the breakdown of our results, we found that overall, there was a preference for the laser with this drill because it allows more freedom in rifle positioning during rapid transitions. Even if the times are close, the shooter doesn’t need to anchor their face in a fixed position behind the optic like they would with passive aiming. Another viewpoint from our staff was that this drill is excellent in daylight for teaching eye-led transitions. It also reveals overdriving issues at night when using a laser. With passive aiming, the performance felt more like daytime shooting due to modern technology.
Lastly, we ran the Accelerator Drill. This involves three staggered targets placed at 25, 15, and 7 yards. The shooter fires two rounds on the 7-yard target, two on the 15-yard target, and two on the 25-yard target. Then you'll perform an emergency reload and shoot two more rounds on the 25-yard target, two on the 15, and finish with two on the 7. This drill works on multiple aspects of shooting. You come up from a ready position, acquire your sights or laser, and shoot multiple rounds, engaging your recoil management. After that, you transition between targets and perform reloads. It's a great way to demonstrate the differences between passive and active aiming with night vision. Our key takeaways from shooting this final drill were that it was a great night for passive aiming. There was a ton of ambient light and other light sources that helped increase visibility. Normally, the lasers onboard illuminator helps with depth and contrast, but in this case, since visibility was so high, the difficulty was greatly reduced.
Based on our previous experiences, the laser and illuminator really shine at 25 meters, but in this case, passive aiming felt faster. That's likely because it's more familiar from daytime use. The biggest issue at the time seemed to be getting the support hand back on the grip to activate the laser and illuminator. This brings up an important point: having a good, visible laser like the one on the MAWL helps a lot. You can use it during the day to practice your grip and transitions. While it’s not exactly the same as shooting under night vision with IR, it still reinforces good technique. That’s why we need to practice with every aiming device on our gun as much as possible.
As with anything, these are just our findings and perception of how the drills went. A lot can boil down to the skill level of the individual shooter as well as how often they are working on passive or active aiming techniques. Both techniques have their place contextually, being entirely dependent on one or the other simply isn’t the right answer. Lastly, for a more thorough breakdown of the shooting results, check out our YouTube video on this topic down below or on the channel itself.